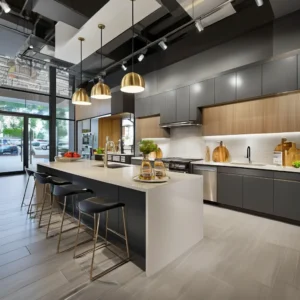
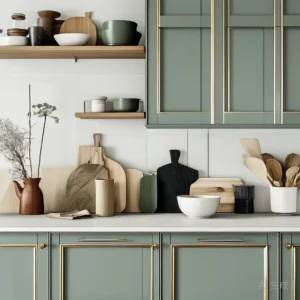
Before you pick a door style or a finish, you need a layout that works — because the floor plan decides whether cooking feels effortless or like crossing an obstacle course. A good kitchen layout puts the things you use together within easy reach, keeps people moving around the work rather than through it, and leaves room to actually stand and cook. This guide covers the work triangle, the five common floor plans, how to zone a kitchen by task, and how to turn your plan into a real, built kitchen.
Start with the Work Triangle
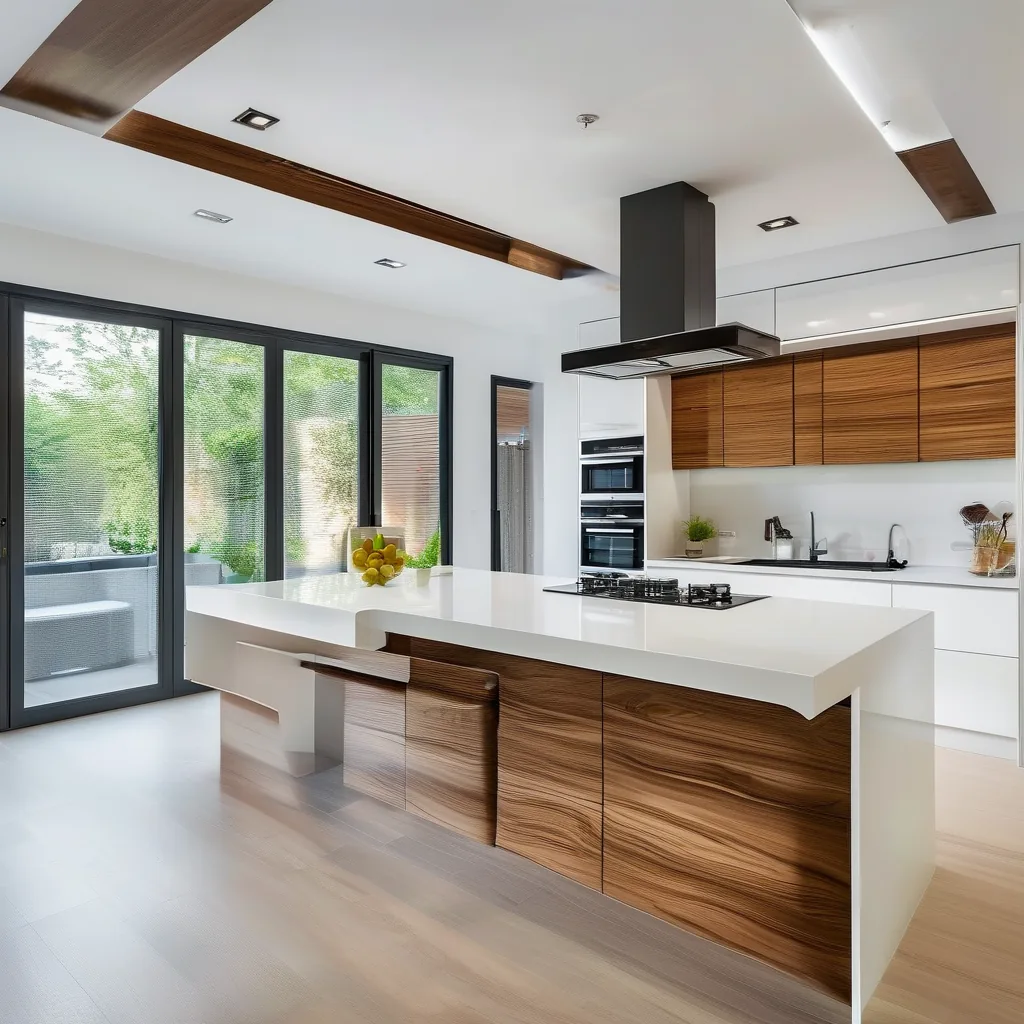
The classic planning rule puts three points — the sink, the cooktop, and the refrigerator — into a triangle, because those are the stations you move between most. A common rule of thumb keeps each side of the triangle between about 1.2 m and 2.7 m, with the total perimeter in the 4–8 m range, and tries to keep walkways from cutting straight through it. If the triangle is too small the stations crowd each other; too large and you rack up steps. Custom cabinetry lets you place each station exactly where the triangle wants it, rather than where a stock layout forces it.
The Five Common Floor Plans
| Plan | Best for | Por qué funciona |
|---|---|---|
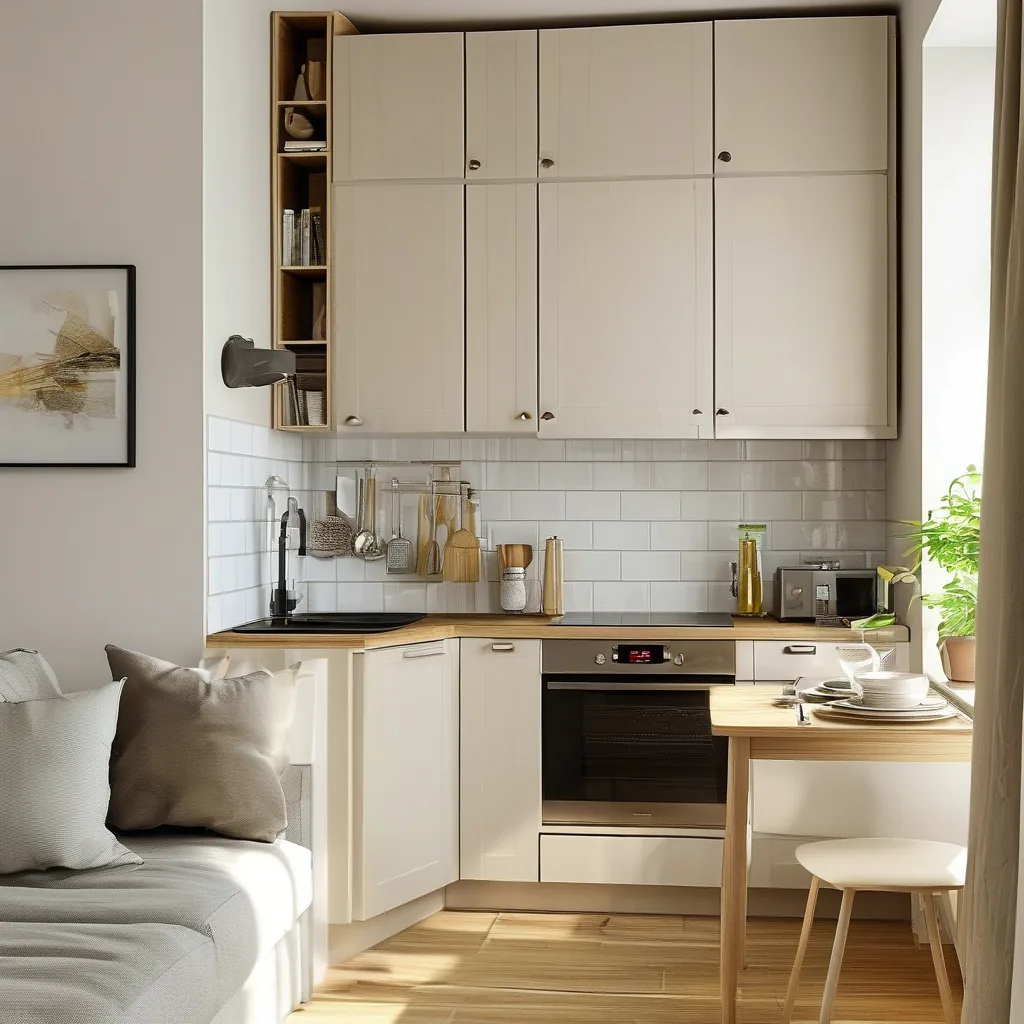
| One-wall | Studios, small apartments | Everything on a single run; the most compact option |
| Galley | Narrow rooms, corridors | Two parallel runs; efficient, no wasted steps |
| L-shape | Open-plan, medium rooms | Two adjacent walls; opens the room to living space |
| U-shape | Larger kitchens | Three walls of storage; maximum counter and cabinet space |
| Peninsula / G | Open-plan needing seating | An L or U with a connected return for a breakfast bar |
A one-wall o galley plan is the move in a tight space — see the small-space guide for the detail. An L-shape keeps the room open; a U-shape maximizes storage and pairs naturally with an island. A peninsula gives you island benefits (seating, extra prep) without the circulation penalty of a freestanding block.
Zone Your Kitchen by Task
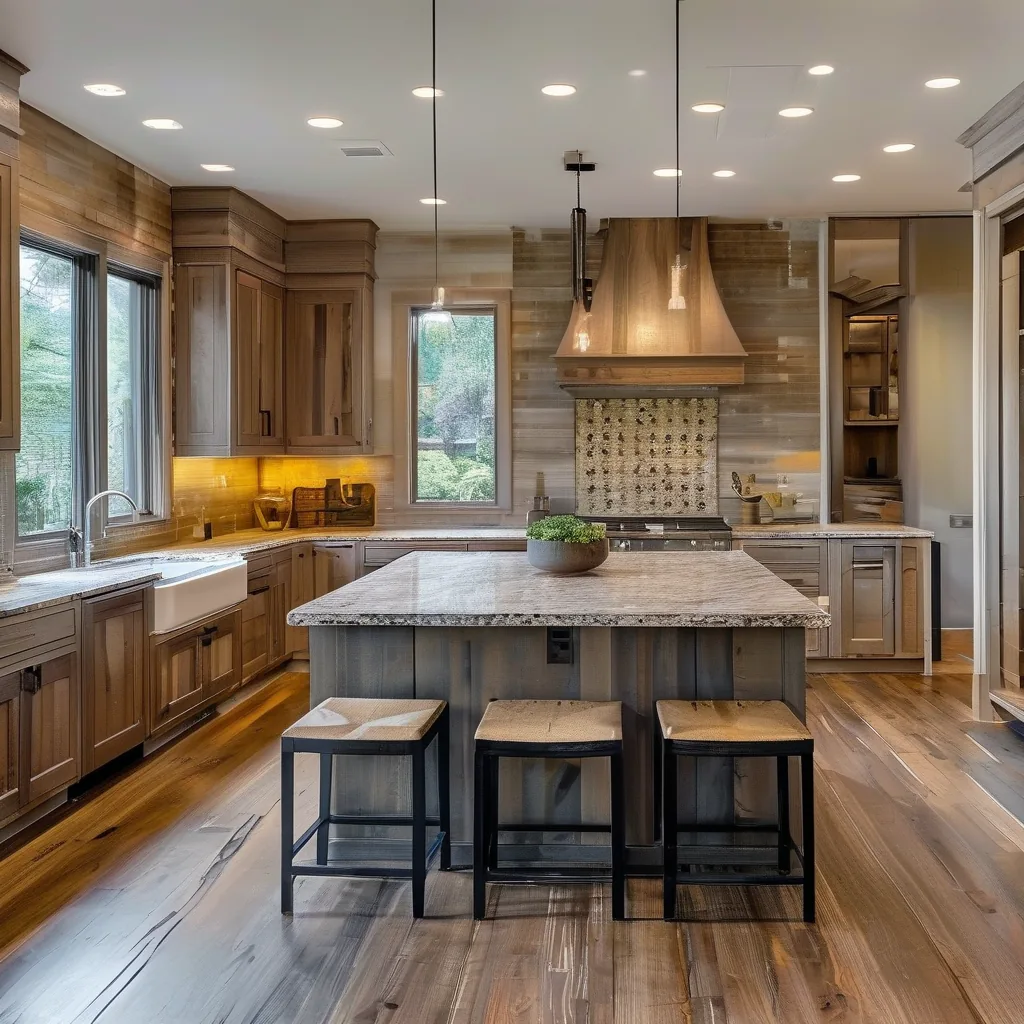
Beyond the triangle, think in zones so the right thing is near the right station:
- Prep zone — counter space near the sink, with knives and cutting boards in nearby drawers.
- Cooking zone — cooktop with landing space on both sides and the hood above.
- Cleanup zone — sink with the dishwasher beside it and drying space nearby.
- Storage zone — pantry and everyday cabinets within a step of prep and cooking.
- Landing space — a clear counter next to the fridge, cooktop, and sink so things have somewhere to go.
Heavy, daily-use storage belongs in deep drawers on smooth, well-mounted slides — the Blum-class, OPK, and Nuomi hardware YIDA specifies — so the cooking zone stays calm. The trade-offs are in the hardware and storage systems guide.
Traffic Flow Rules
A layout fails if people have to walk through your cooking to reach the door:
- Keep 90–120 cm of clearance in front of counters and appliances so two people pass and doors open.
- Route main walkways around the work triangle, not through it.
- Watch door and drawer swings so nothing blocks the room’s main path.
- In an open plan, let the island define the edge of the kitchen rather than sit in the through-line.
These same clearances apply to the island itself — the kitchen island ideas cover sizing and seating.
Match the Plan to Your Room
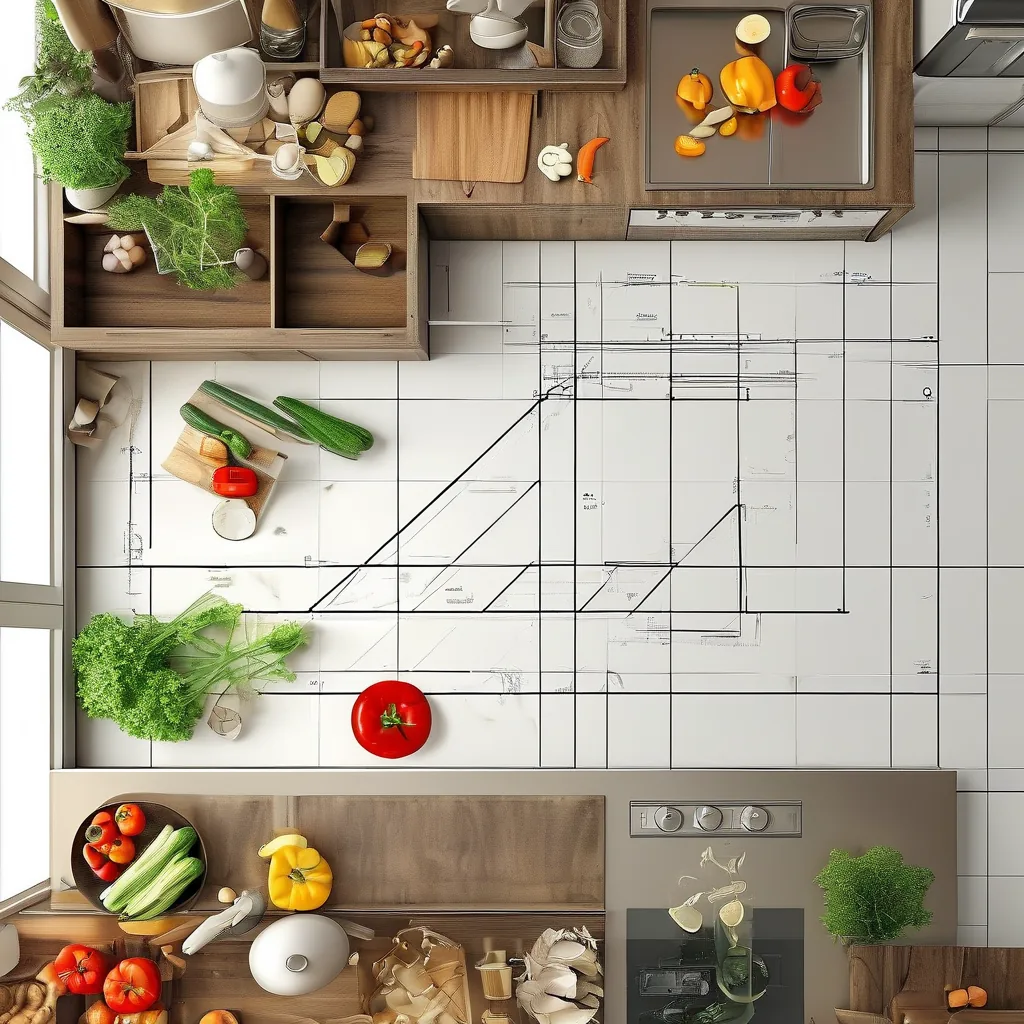
- Small / apartment → one-wall or galley; a peninsula if you want seating.
- Medium / open-plan → L-shape, optionally with a slim island.
- Grande → U-shape plus a central island for prep and dining.
- Awkward / older room → measure carefully first (square corners are rare) — the measuring guide shows how.
Once the footprint is set, the door style and the color and finish decide how it reads.
Designing Your Layout with YIDA
Because the layout changes the whole circulation of the room, it should be designed against your actual floor plan:
- Send the floor plan for a free 3D design that tests the triangle, clearance, and zoning before production.
- Confirm the plan type (one-wall, galley, L, U, peninsula) and where the island or seating goes.
- Specify the finish — matte lacquer, baking paint, or veneer on E1 board.
- Rely on pre-shipment trial assembly — each unit is built and checked, keeping error rates near 0.1%.
Send your project details and floor plan via the contact page for a 3D design and quotation within 24 hours — laid out against your real room, not a template.