The kitchen island is the hardest-working piece of a modern kitchen — part prep station, part dining table, part storage block. Done well, it becomes the room’s anchor; done without a plan, it becomes an obstacle. This guide covers the island types worth considering, the sizing and clearance rules that keep it usable, and the storage that makes it pay off — with real examples from YIDA’s current layouts.
What an Island Is Really For
Before choosing a style, decide the job. An island usually does one or more of these:
- Prep surface — extra counter space away from the wall run, with the sink or cooktop nearby.
- Dining — a breakfast bar with seating for quick meals.
- Storage — deep drawers and cabinets that the wall run can’t spare.
- Social focus — the gathering point that turns cooking into a shared activity.
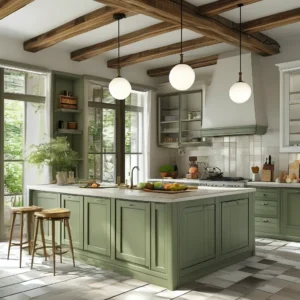
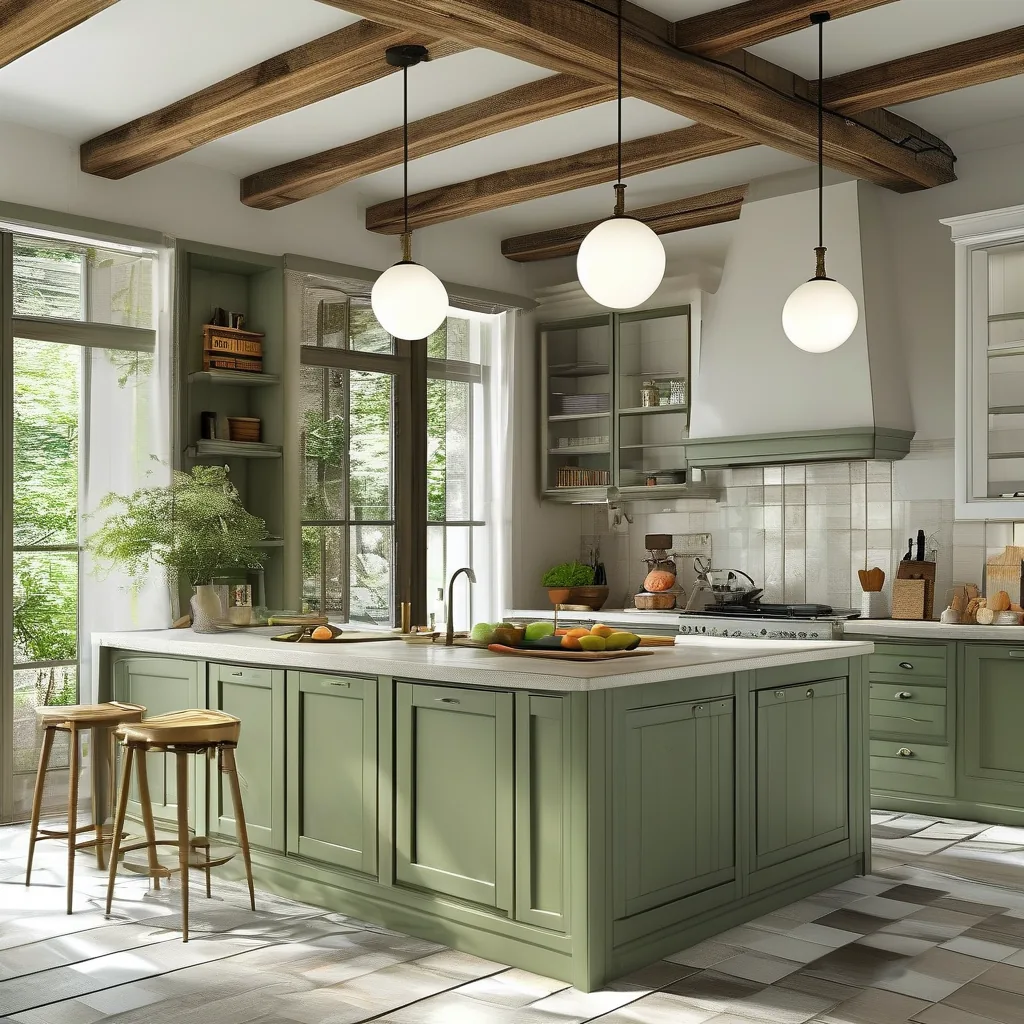
A single island can do all four, but the more it takes on, the more deliberate the layout has to be. In YIDA’s soft sage green program, the island is built as a central island within a U-shaped kitchen, extending both prep room and seating in one calm, natural-toned piece.
Island Types to Choose From
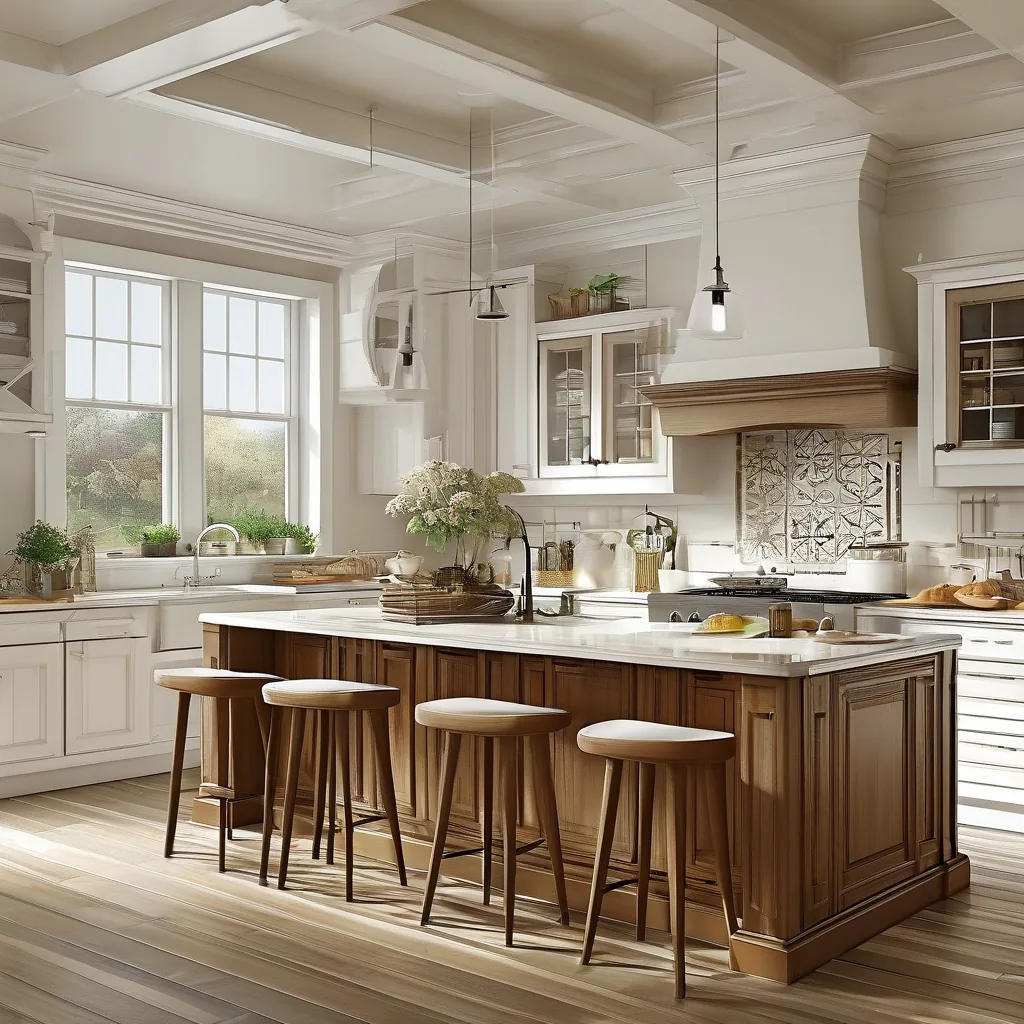
| Type | Best for | Key feature |
|---|---|---|
| Prep island | Cooks who need counter space | Large clear top; sink or hob optional |
| Breakfast / dining island | Families, open-plan living | Overhang for stools; comfortable seat height |
| Storage island | Small kitchens short on cabinets | Full-depth drawers, pull-outs, bin storage |
| Statement / waterfall island | Design-led projects | Stone or marble wrap-down sides for drama |
The black matte with gold program shows the social end of the spectrum: an L-shaped kitchen with a bar counter that doubles as a serving and entertaining zone — proof an island doesn’t have to be a freestanding block to earn its place.
Sizing and Clearance Rules
These are the numbers that separate a usable island from a bottleneck:
- Clearance: leave at least 90–120 cm between the island and opposing counters or appliances so two people can pass and doors can open.
- Island depth: around 90 cm is the practical minimum for a working top that still leaves knee room on a seating side.
- Seating overhang: a 25–30 cm counter overhang lets stools tuck in without hitting the cabinet.
- Work height: match the island to your prep height (standard ~90 cm); a raised bar section can sit ~10–15 cm higher for separation.
If your room can’t meet the clearance rule, a peninsula (an island attached to a wall run) delivers most of the benefit without the circulation penalty — a better fit for compact apartments.
Storage Inside the Island
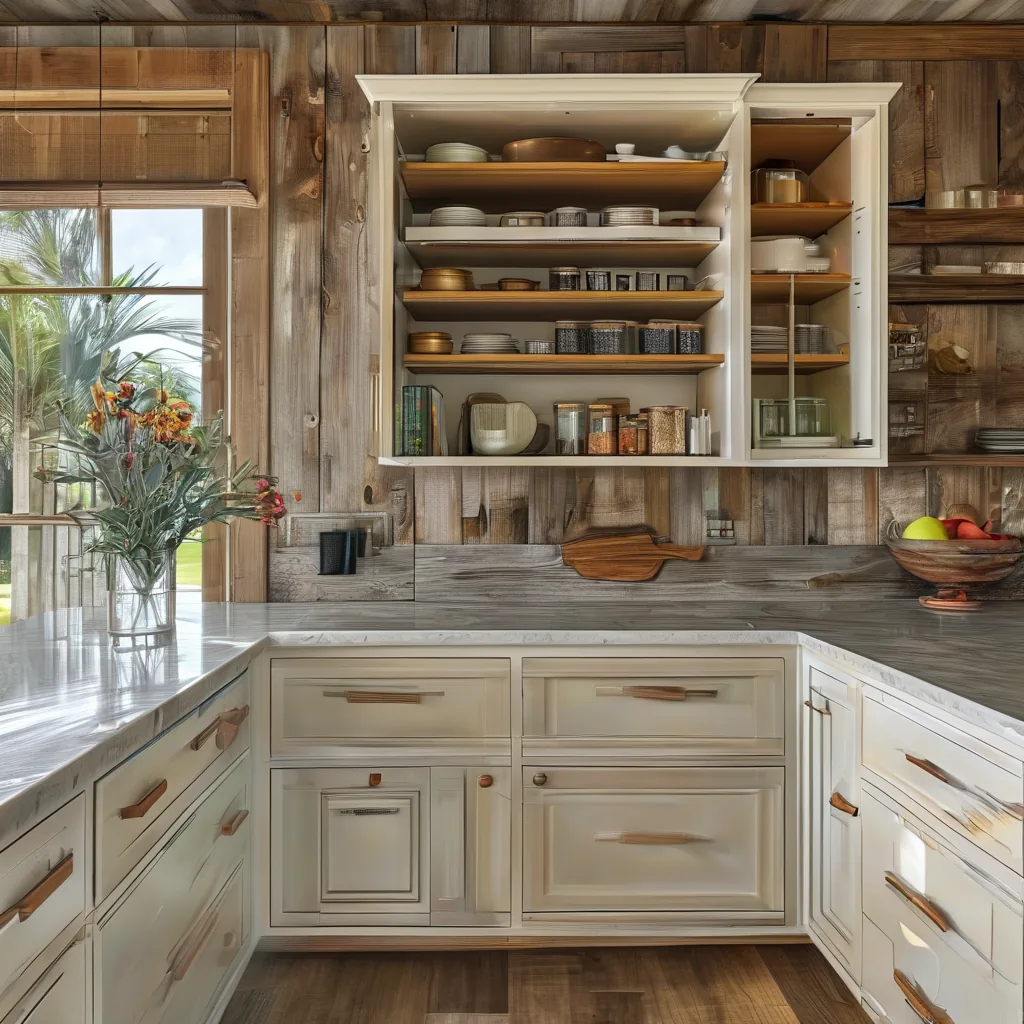
The island is prime real estate, so fill it with the things you reach for daily:
- Deep drawers for pots, pans, and small appliances — easier than a deep base cabinet.
- Pull-out bins and dividers that bring the back of the island to you.
- Open shelving or a bookcase end for cookbooks and display.
- Wine or beverage storage in the social face of the island.
Quality hardware matters here: heavy island drawers cycle constantly, so smooth, well-mounted slides and hinges (the Blum-class, OPK, and Nuomi programs YIDA specifies) keep them feeling new. See the hardware and storage systems guide for the trade-offs.
Layouts That Fit an Island
Not every kitchen can take a freestanding island:
- U-shaped + central island — the sage green program’s layout; maximizes both perimeter and island storage.
- L-shaped + island — adds an island without enclosing the room.
- Galley + island — only if the galley is wide enough for clearance; otherwise use a peninsula.
- Compact / apartment — a peninsula or a slim mobile island; see the small-space guide for the space-saving version.
The rule of thumb: if you can’t keep the clearance, don’t force an island — a peninsula does the job.
Style Directions for the Island
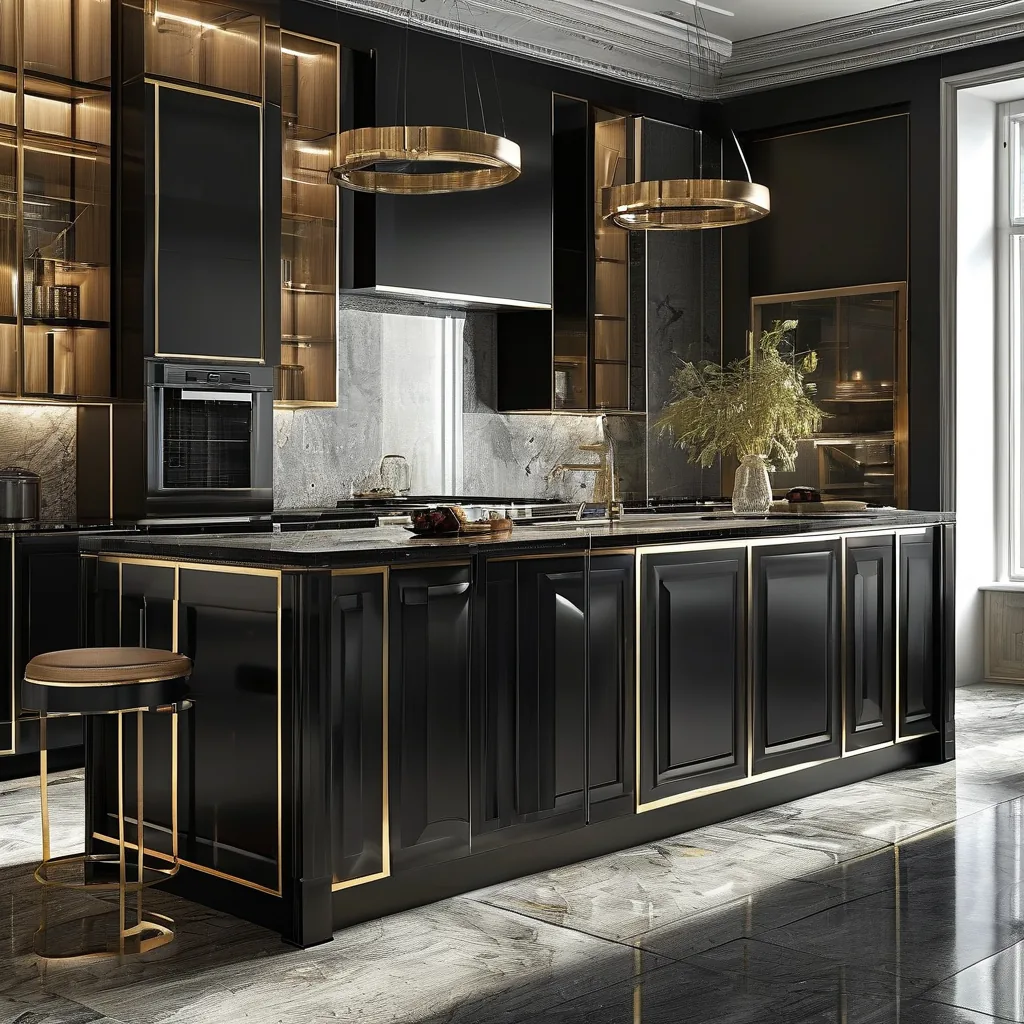
The island is also your best chance to make a statement, because it’s viewed from all sides:
- Sage green matte + white countertop — calm and natural, as in YIDA’s sage program.
- Black matte + gold hardware + marble — bold contrast for a design-led kitchen.
- Light grey, handle-less — minimal and open-concept friendly.
Color and finish set the tone; the 2026 cabinet colors and finishes guide walks through choosing them. Whichever you pick, a matte front keeps the island looking clean in a high-touch, high-traffic spot.
Designing Your Island with YIDA
Because an island changes the whole circulation of the room, it should be designed against your actual floor plan:
- Send the floor plan for a free 3D design that tests the island, clearance, and seating before production.
- Confirm the function mix — prep, storage, dining — so the interior is built around it.
- Specify the finish — matte lacquer, baking paint, or veneer, on E1 board.
- Rely on pre-shipment trial assembly — YIDA builds and checks each unit before it ships, keeping error rates near 0.1%.
Browse the sage green kitchen cabinet collection and the black-and-gold contemporary program for island-ready inspirations.
Ready to plan your island? Send your project details and floor plan via the contact page and receive a 3D design and quotation within 24 hours — laid out against your real space, not a template.